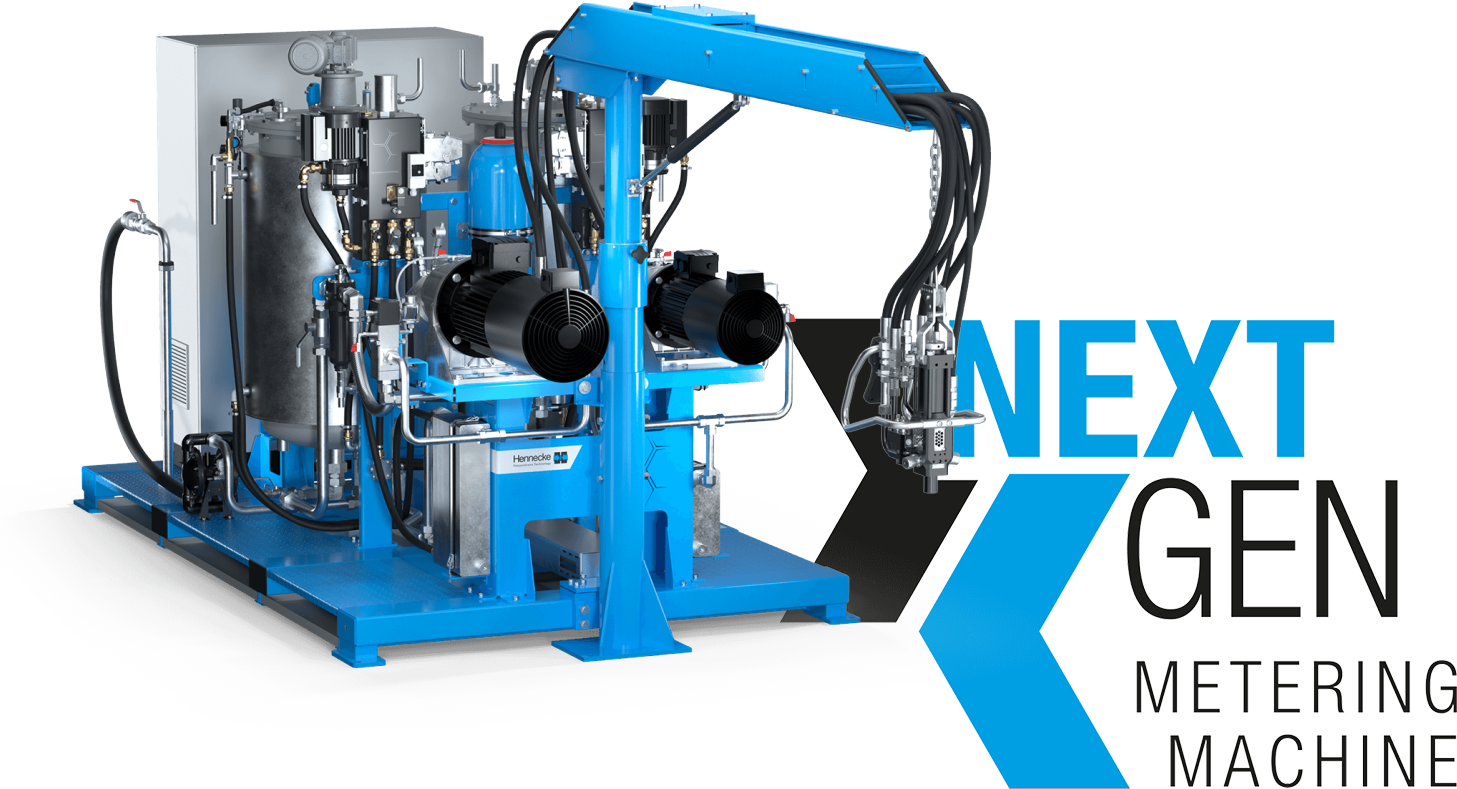
Hennecke’s polyurethane experts are continuously working on making machine and system technology even better and more efficient. A milestone was set by the Research department – which is currently working on enabling high-precision measurements in the metering operation of high-pressure metering machines and recording even more comprehensive process data. In combination with an intelligent algorithm, they will enable the user to eliminate natural fluctuations and inaccuracies while raising production to a new level. In combination with the new Hennecke FOAMATIC control software for stand-alone metering machines or FOAMWARE for systems technology, unimagined possibilities in polyurethane processing are already emerging.
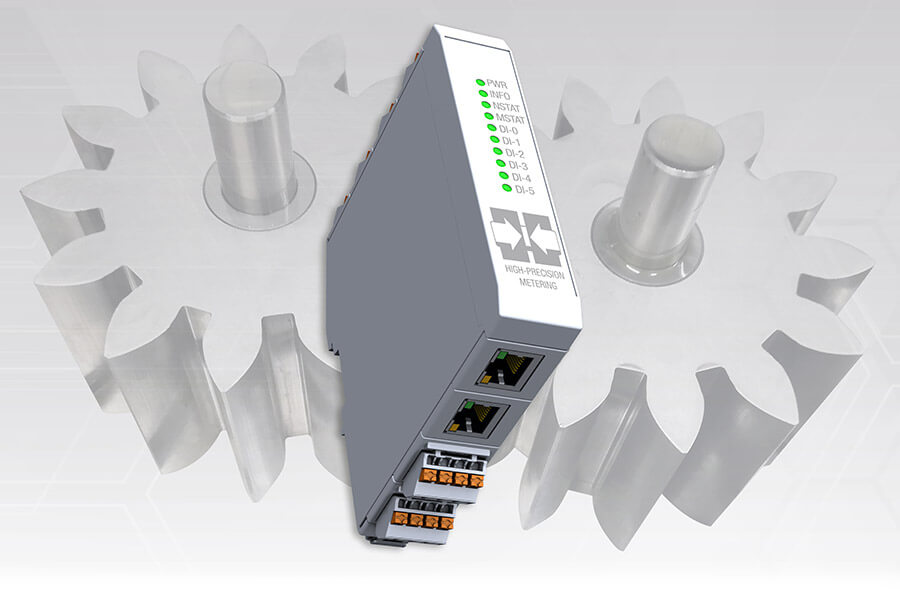
At the heart of the ongoing development is a new module that is integrated into the control cabinet and collects and interprets the measurement data from the sensors already present in the plant. These are processed using an algorithm that works with artificial intelligence and is capable of learning. The data thus available is more dynamic, precise and comprehensive than any process data currently available. “For applications where high precision is essential, this isn’t just a further development – but a real milestone. We’ve put the concentrated polyurethane expertise of Hennecke into the development and will noticeably improve the production processes,” promises Tobias Santos Barros, Project Leader Systems and Software Engineering at Hennecke.
4-Channel measurement brings precision and dynamics
The innovation is based on a series of changes. A lot of data is relevant for a metering process: volume flow, mass flow, material density (depending on temperature and media pressure), current mixing ratio, shot length, dispensing quantity per shot, and various mixing head-dependent times. As before, the volume flow is determined using a gearwheel counter. Each tooth that moves over the sensor sends an electrical pulse. However, up to now this has only been a single-channel process. One sensor detects the rising edge of the electrical pulse. However, two sensors are installed in the gearwheel counter, both of which are now used with the aid of the module. In addition, they each detect the rising and falling edges of the pulses. This results in a 4-channel measurement that captures significantly more and more dynamic data than the classic 1-channel measurement. This eliminates the previous interpolation between the signals – while the “measurement noise” is significantly reduced by a sophisticated algorithm. This means that even the smallest manufacturing or rotation angle errors of the gearwheels can be detected and automatically corrected by the software immediately. To do this, the algorithm uses artificial intelligence to learn to distinguish between measurement noise and actual external influences. Likewise, the software can, for example, detect and compensate for a change due to a manufacturing scatter between two gearwheels – such as when a gearwheel or the gearwheel counter has been replaced.
Intelligent live calculation of accurate process data
Based on the continuously determined temperature values and the respective media pressure, the module also continuously determines the current media density. Another highlight is the first absolutely precise recording of the shot length – in other words the duration of a metering process, with the aid of the pressure signal. This is because the pressure signal clearly indicates the beginning and end of the metering process (triggered by the overlap of the media flow) – the decisive factor here is that the pressure sensor reacts in the microsecond range. In the conventional process, there are otherwise always small and undefined delays between the triggering in the control system and the actual start of the shot as well as the recognition of the end of the shot. Thanks to the highly precise data from the pressure measurement, the shot duration can now be determined with pinpoint accuracy. In combination with the mass flow rate, the software uses this to calculate the correct metering quantity. “For the first time, we can ensure that the measured and weighed quantities really match,” says a delighted Lars Etschenberg, Head of Operational Excellence Engineering. This is because the new development enables the engineers to significantly reduce the previously common measurement tolerance of 1 to 1.5 percent to values between 0.1 and 0.5 percent.
Multiple advantages in production
Each individual metering process can be displayed and evaluated with high resolution in terms of quantity, duration and weight. The user benefits from this new precision in many ways. For example, irregularities in production or possible missing parts can be detected directly. In the production of safety components, it is now finally possible to create a process control chart for quality management thanks to the new module. Efficiency can also be increased, because the more accurate measured values mean that fewer raw materials have to be used to achieve the required minimum volume. “But I’m convinced that our customers will find many more applications where they can benefit from the precise measurement data,” Lars Etschenberg is certain. What’s more, long-term recording of the process data also makes it possible to read changes in production or in the material – typically due to wear. Valuable insights that pay off in the areas of maintenance and servicing. Plus there’s no need for calibration or runtime correction of the mixhead at the start of production.
Product development close to completion
The hardware and software components of the high-precision flow measurement are about to be ready for the market. The patent has already been applied for, tests are underway, and no complex hardware is required apart from the module. “We’re getting much more out of the existing sensor technology – by applying intelligence, expertise and experience. Our customers will probably benefit from this as early as the third quarter of 2024,” Tobias Santos Barros emphasizes. The technology is simply integrated into existing plants by forwarding the data to the PLC. Of course, the interface logic can also be easily adapted via BUS adapter to various automation systems such as those in use at Hennecke, so that the US market will also benefit from the technology.


